
Loved this project. Took some time to get set up, but it was worth it. This is a project you can do alone or with a group of friends. String art is something I have wanted to try for a while. Now that we are remodeling our home I have extra wood around. I went out and grabbed a piece I thought would work for my project. Once you are ready, start sanding your piece of wood. This will help smooth the surface and help the paint hold better.
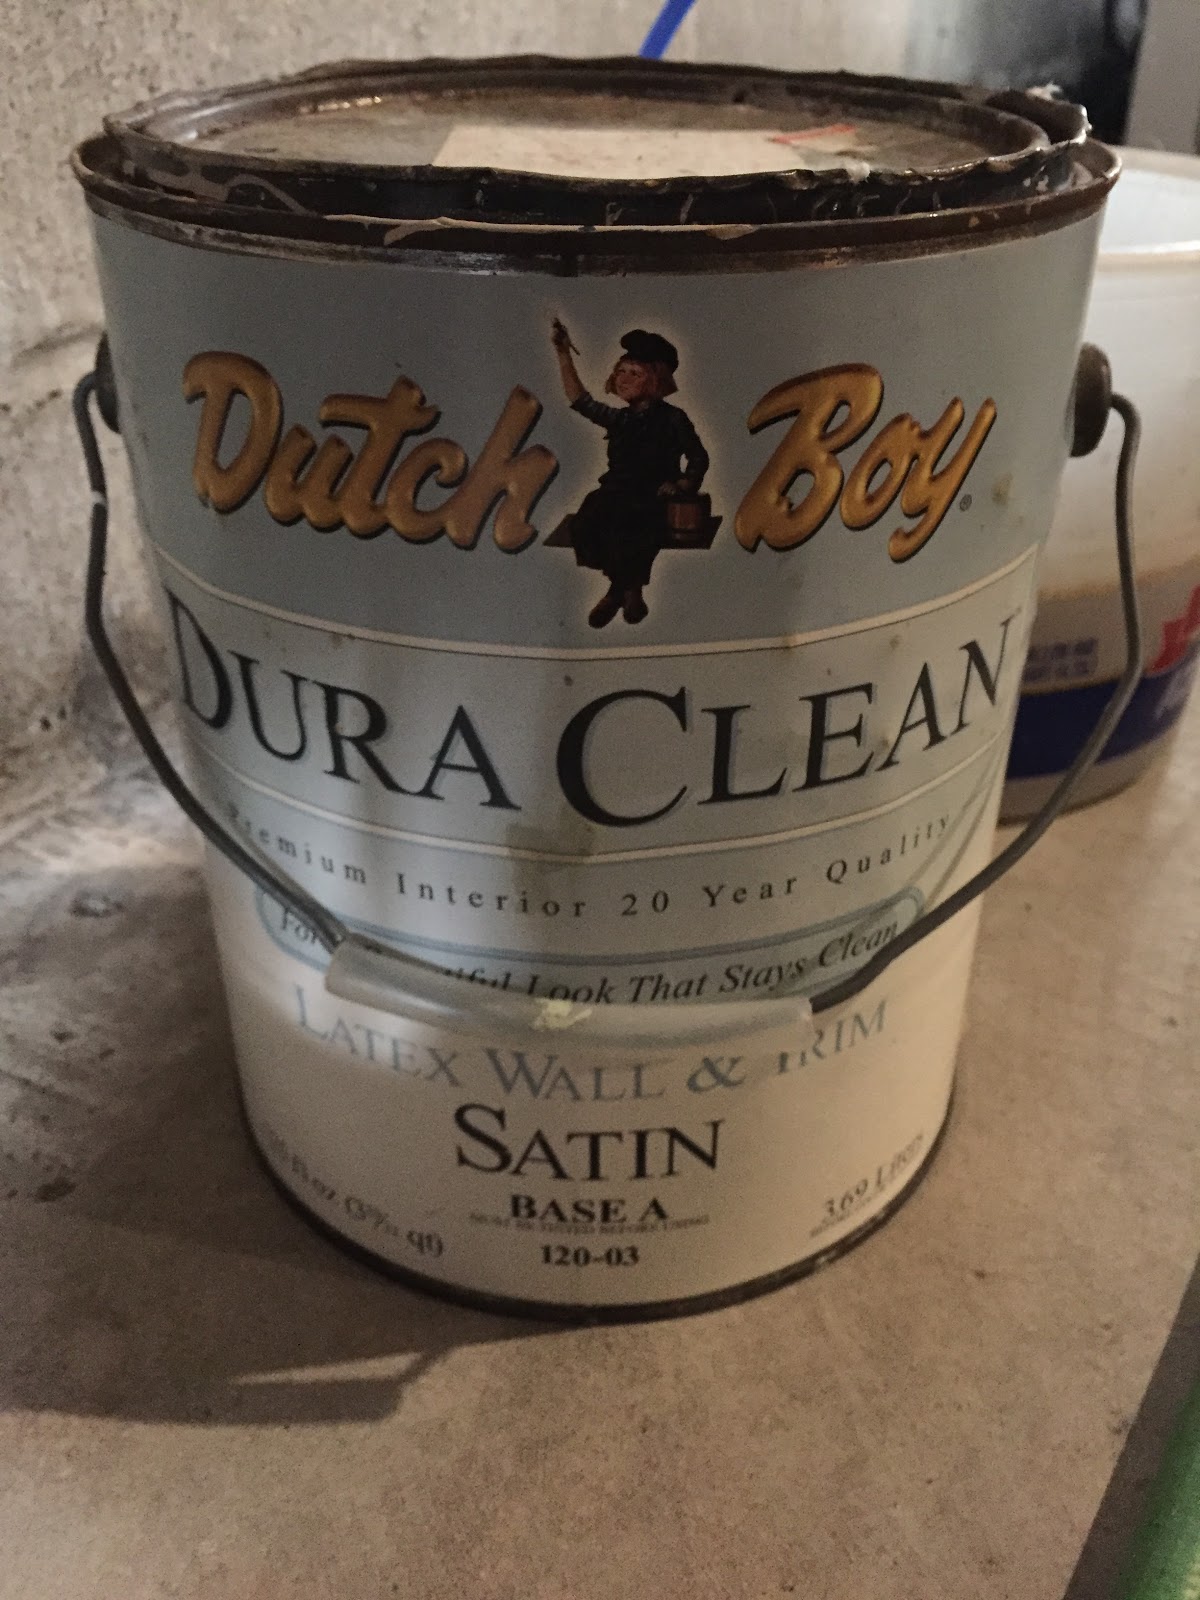 Next step was to decide on a paint. I chose Dutch Boy satin white. I had this the basement and worked great.
I also wanted a rustic look, so I took an old sock and dipped it in the paint. Then I just started rubbing the paint in little sections over the piece of wood, this helped give it a weathered look. Next it was to start measuring my letters. I took an 8x11 piece of paper and cut out letters for the word HOME. I used block letters for this project giving it more room for the string.
 Once I cut them out, I set them on the board and started putting nails in. Start placing the nails in the corners of the letter, then you are able to fill in more nails where the letter would go. (I outlined the letters with a string to show where I put the nails).
It was time for the string. I used bracelet string because it stretches. Work with one letter at a time and just weave the string in and out and around all over the letter. Here is a sample of one of the letters.

Here is my finished product! I ended up putting this in my entryway.

After Reading the below posts here are a few more details into the project to help you get started.
I used 1 inch wall nails I bought from our local dollar store. For this particular project I used 21 nails for the H, 17 for the O, 19 for M, and 18 for E. Again you can always add more to fill in each letter more. As far as a template for the letters I literally just drew out the letters by hand I figured it would give it more of a DYI look to it rather than a perfect cut out. I know on Pinterest there are actual templates with the nail holes in it already. As for the sock, well unfortunately I can't tell you where to go other than I used one of my husbands old Hanes cotton sock with holes in it. I know might sound gross, but I think you could used a new sock as well and get the same results. The size of the wood piece I used was 12 inches high and 2 feet wide. The wood could be purchased at a local lumbar yard or if you have recently remodeled or know someone that has, they might have some scrap wood laying around. The bracelet string I used is stretchy you can get this at craft store in the bead or necklace isle. I chose to use color string to make it pop out more against the white. If you choose a darker color wood or stain it a darker color, just a plain white string would also look good.
Could you provide a list of the materials you will need to start the project: Wood (size recommendation) paint, old sock, do you have a template for the block letters or did you just free hand it? Nails (how many) string (how much)
ReplyDeleteI'm new to crafting, I could use every little bit of help you have to offer. :)
Thanks for you comment Shelly. I will add all of the materials back into the blog!
ReplyDelete